Remove the rubber seal on your Samsung washing machine with this easy-to-follow guide. Removing the seal can help you clean hidden debris and prevent possible mold buildup, ensuring your machine performs optimally. You’ll need a few tools and a bit of patience, but this simple task can greatly improve the longevity of your appliance. Follow the steps below to efficiently detach and replace the seal while maintaining your machine’s integrity.
Key Takeaways:
- Prepare the washing machine by unplugging it and clearing any items from the drum to ensure a safe workspace.
- Carefully assess the rubber seal, noting how it is attached, then gently pull it away from the washing machine to avoid any damage.
- Inspect the area for debris or mold after removal; clean thoroughly before installing a new seal to maintain optimal performance.
Understanding the Rubber Seal
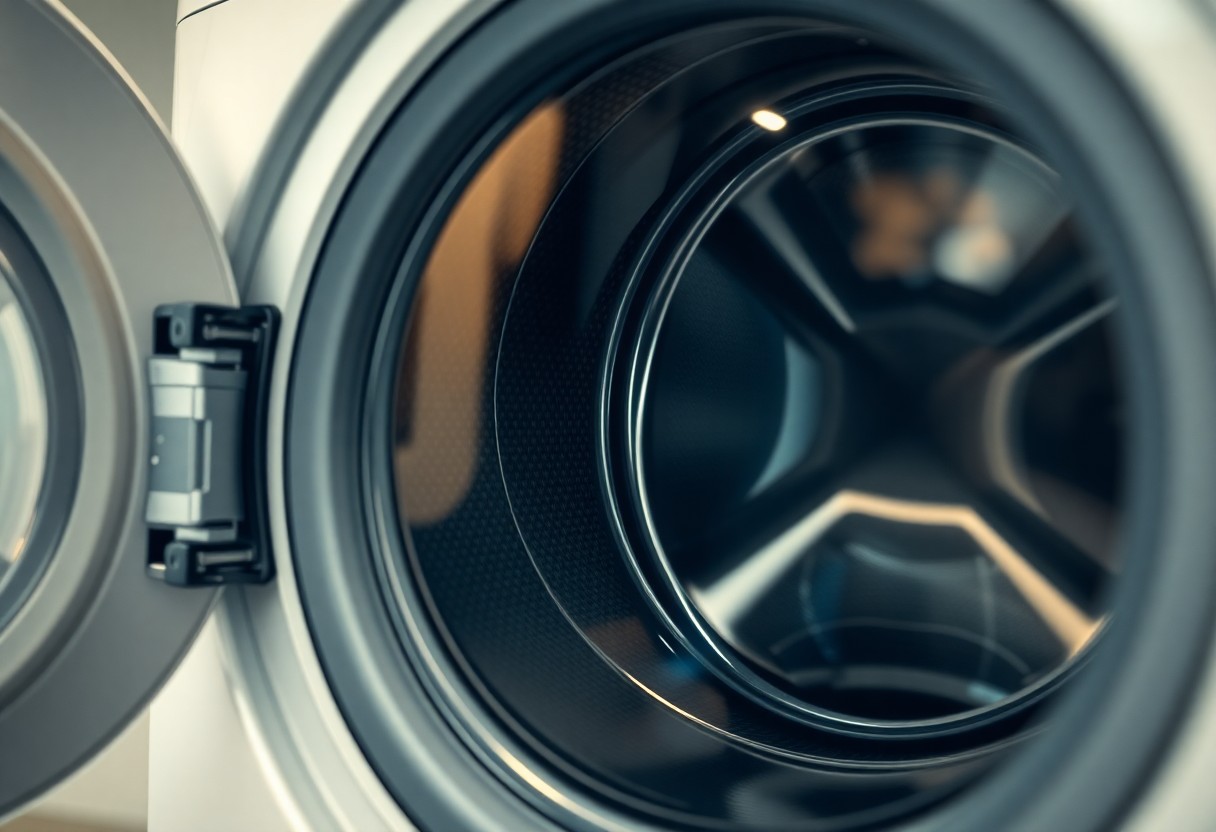
The rubber seal, often referred to as the door gasket, is an imperative component of your Samsung washing machine. It creates a watertight barrier between the drum and the door, ensuring that water remains inside during the wash cycle. Over time, this important part can wear down, leading to potential leaks and reduced efficiency. Understanding its role can help you maintain your appliance and prevent costly repairs.
Purpose of the Rubber Seal
Rubber seals play a significant role in keeping your washing machine functioning properly. They prevent water from leaking out during cycles, which protects both your home and the machine itself. Additionally, they help trap dirt and debris, ensuring your clothes come out clean and fresh.
Common Issues with Rubber Seals
While rubber seals are designed for durability, they can develop issues over time, such as tears, mold growth, or kinks that prevent them from sealing properly. These problems can lead to leaks, inefficient washing, and unpleasant odors. Taking action when you notice these signs can save you from more significant issues down the line.
Another common issue with rubber seals is the buildup of mold and mildew, which thrives in the warm, moist environment of your washing machine. This not only affects your machine’s performance but can also lead to unpleasant odors on your clothes. Additionally, if the seal is damaged or worn out, you may experience water leakage that can cause damage to your flooring and walls. Regularly inspecting and maintaining the rubber seal will help ensure your washing machine operates efficiently and lasts longer.
Tools and Materials Needed
You will need a few crucial tools and materials to effectively remove the rubber seal from your Samsung washing machine. Having the right items on hand will ensure the process goes smoothly and efficiently, allowing you to tackle this task with confidence.
Essential Tools
While removing the rubber seal, you will require a few basic tools. A screwdriver set (both flathead and Phillips) will help you access screws, while a pair of pliers can assist in gripping and pulling. Additionally, having a towel handy is beneficial to wipe up any residual moisture around the area.
Recommended Cleaning Supplies
Needed for this task are some cleaning supplies to ensure that the rubber seal and surrounding areas are adequately cleaned once removed. A gentle detergent, vinegar, or baking soda can be effective for cleaning, as well as a soft cloth or sponge.
Materials like gentle detergent will help break down mold and grime, while vinegar acts as a natural disinfectant, making it safer for your household and the environment. You might also find that baking soda is excellent for scrubbing without scratching surfaces. Ensure you don’t use abrasive materials that could damage your washing machine. Having soft cloths or sponges ready will simplify cleaning, making the process more efficient and enjoyable.
Step-by-Step Guide to Remove the Seal
Your Samsung washing machine’s rubber seal can be easily removed by following a few simple steps. This guide will help you detach the seal efficiently and safely. Below is a breakdown of each phase of the removal process:
| Step | Description |
| 1 | Preparing the Washing Machine |
| 2 | Detaching the Seal from the Drum |
| 3 | Removing the Seal from the Door |
Preparing the Washing Machine
Seal your washing machine with the appropriate precautions before starting the seal removal process. Ensure the machine is unplugged and the water supply is turned off to prevent any leaks or accidents during the procedure.
Detaching the Seal from the Drum
You need to carefully pry the rubber seal away from the drum once the machine is prepared. Look for the locking mechanism or any screws holding the seal in place, and gently remove them to avoid any damage.
Machine vibrations may make the seal more secure, so it’s important to handle it delicately. Use your fingers to pull back the seal, making sure you don’t tear it. If it’s stubborn, consider gently wiggling it to free it from its position for an easier detachment.
Removing the Seal from the Door
Washing machines usually have the seal attached around the door frame as well. To remove it, locate any clips or screws securing the seal to the frame and carefully undo them without inflicting damage on the door’s materials.
Door seals can often get trapped in tight spots, meaning persistence and careful maneuvering may be necessary. Always check around the edges of the door frame for any hidden connectors or areas where the seal might still be attached, ensuring a complete separation for maintenance or replacement.
Tips for a Smooth Removal Process
All you need for a successful removal of the rubber seal on your Samsung washing machine is to follow these tips:
- Gather all necessary tools before starting.
- Work in a well-lit area for better visibility.
- Take your time without rushing the removal process.
- Keep a camera handy to document the original setting, aiding reinstallation.
After following these tips, you’ll find the removal much easier and straightforward.
Avoiding Common Mistakes
Common mistakes during the rubber seal removal can lead to unnecessary complications. Be careful not to use excessive force as it may damage both the seal and the washing machine. Additionally, neglecting to take notes or pictures can result in confusion when reassembling. Always pay attention to the order of any parts removed.
Ensuring Safety During the Process
Now that you are ready to begin, it’s necessary to prioritize safety. Always unplug your washing machine to eliminate any risk of electrical shock. Furthermore, wear gloves to protect your hands from potential sharp edges while handling the rubber seal. Keeping your workspace tidy will also help prevent accidents.
Ensuring safety is paramount; use protective gloves to guard against sharp components, unplug the machine to prevent electric shocks, and maintain an organized workspace to avoid slips or falls. Staying vigilant while working will help ensure a safe removal process and prevent injuries. Take your time and respect the tools at hand to achieve the best results without mishaps.
Factors to Consider Before Removal
Despite the convenience of removing the rubber seal on your Samsung washing machine, there are important aspects to keep in mind. Consider the following:
- Model compatibility of your washing machine
- Presence of any damage on the rubber seal
- Manufacturer guidelines for seal replacement
- Tools required for removal
The right approach will ensure a smooth process.
Model Variations of Samsung Washing Machines
On your journey to remove the rubber seal, it’s vital to acknowledge that Samsung washing machines come in various models, each with unique designs and functionalities. This means that the process may differ slightly depending on whether you have a front-load or top-load machine. Familiarizing yourself with your specific model will enable you to follow the correct steps for safe and effective seal removal.
Signs You May Need a Replacement
On the other hand, it’s important to recognize when your rubber seal may need replacement rather than just removal. Common indicators include visible wear and tear, mold or mildew buildup, and leaks during operation. A damaged seal can lead to water damage and affect your machine’s performance.
Plus, if you notice an excessive buildup of mold or mildew in the seal area, or if water begins leaking during wash cycles, it’s time to consider a replacement. Ignoring these issues can lead to serious water damage or ineffective washing. Also, a worn-out seal can compromise the quality of your laundry and may result in increased energy consumption, affecting your long-term costs. Being proactive about these signs ensures that your washing machine remains in great working condition.
Maintaining Your Washing Machine’s Seal
Now that you’ve learned how to remove the rubber seal, it’s necessary to maintain it properly. Regular upkeep will ensure your washing machine operates efficiently and prolong the seal’s lifespan. Check the seal frequently for any signs of wear or mold buildup, and take action promptly to address any issues you find. A little effort in maintenance can go a long way in keeping your washing machine in optimal condition.
Regular Cleaning Techniques
Maintaining your washing machine’s seal involves regular cleaning to prevent dirt and mold accumulation. Wipe the rubber seal with a damp cloth and a mild detergent solution at least once a month. Additionally, leave the door ajar after each wash to promote airflow, minimizing moisture buildup. This simple practice will help keep your seal fresh and extend its life.
When to Replace the Rubber Seal
With regular inspections, you’ll be able to identify when it’s time to replace your rubber seal. Look for cracks, tears, or significant wear that may lead to leaks. Additionally, if the seal develops a persistent odor despite cleaning, it’s a sign that replacement is necessary.
Plus, addressing a worn or damaged seal promptly is vital for your washing machine’s performance. A malfunctioning seal can lead to water leaks that may cause significant damage to your flooring or cause mold growth in your laundry area. Don’t ignore any visible defects; replacing the seal at the first sign of trouble can save you from costly repairs and ensure your washing machine continues to operate efficiently.
Final Words
Ultimately, by following this easy guide on how to remove the rubber seal on your Samsung washing machine, you can effectively maintain your appliance and ensure optimal performance. Taking the time to properly remove and clean the seal not only prolongs the life of your washing machine but also enhances its efficiency. Keep these steps in mind, and you’ll find that maintaining your appliance can be a straightforward task, empowering you to take charge of your home’s laundry routine.
FAQ
Q: Why do I need to remove the rubber seal from my Samsung washing machine?
A: Removing the rubber seal, also known as the door gasket, can be helpful for cleaning purposes, troubleshooting leaks, or replacing a damaged seal. Regular maintenance can prevent odors and ensure that your machine operates efficiently.
Q: How do I start the process of removing the rubber seal?
A: Begin by unplugging the washing machine to ensure safety. Then, locate the clamps that hold the rubber seal in place. Once you have identified the clamps, you can use a flathead screwdriver to gently pry them away from the machine to release the seal.
Q: Are there any tools required for removing the rubber seal?
A: Typically, no specialized tools are needed. However, a flathead screwdriver or a pair of pliers can be useful for removing clamps or working with tight areas. It’s also a good idea to have a microfiber cloth on hand to wipe away any debris or water during the process.
Q: What should I do if the rubber seal is stuck and won’t come off?
A: If the rubber seal seems stuck, gently work your fingers around the edges to loosen it. You can also use a soapy water solution to help lubricate the seal. If it’s still resistant, check for any additional clamps or fasteners that might be securing it in place.
Q: How can I ensure that the new rubber seal is installed correctly?
A: To install a new rubber seal, start by placing it in the groove where the previous seal was located. Make sure it fits snugly into place. Secure the seal with the clamps you removed earlier, ensuring everything is tightly fitted and aligned. Before using the machine, run a short cycle without clothes to check for leaks.